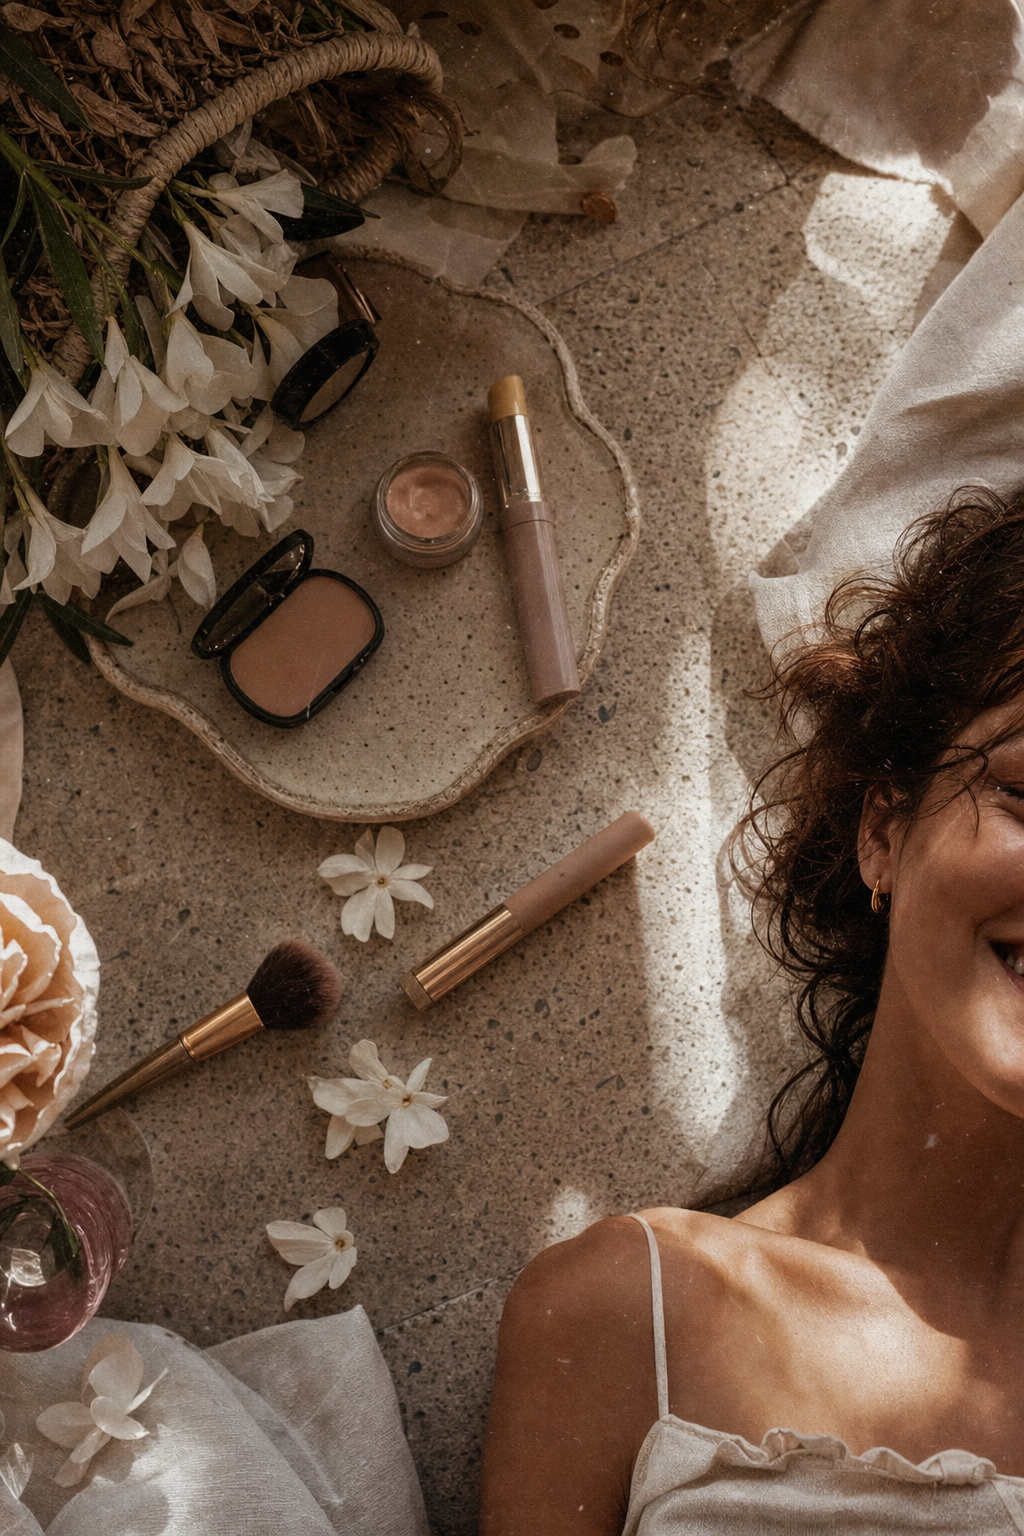
Waking up to a surprise blemish can feel like a setback, but with the right techniques, you can regain your confidence in minutes. There are countless makeup tricks to cover blemishes, but finding the ones that actually deliver results can be a challenge. I've researched and narrowed down the top nine makeup tricks to cover blemishes that truly work. Whether you're dealing with a sudden breakout or lingering marks, these steps will help you achieve a flawless finish quickly and easily. Let's explore how to master the art of concealment.
Thanks for sharing your thoughts.
Want more like this? Subscribe for personalized picks.
Successfully subscribed.
Check your inbox for personalized content.
1. Know Your Shade
When it comes to effective makeup tricks to cover blemishes, precision is everything. You must ensure you know your shade perfectly. This means matching your skin tone accurately to your concealer and ensuring your foundation is the exact same hue. This seamless match allows you to cover up your blemishes in no time at all, creating a natural look that doesn't look cakey.
2. Yellow-Tinted Concealer
If you're dealing with redness, a little color theory goes a long way. Yellow-tinted concealer is a secret weapon that helps neutralize red tones in the skin. If you have active acne that appears bright red, this is one of the best makeup tips to hide it. Simply pick a shade close to your skin tone with a distinct yellow base to cancel out the inflammation.
3. Dark Marks, Choose a Lighter Concealer
For those dealing with hyperpigmentation or dark spots, the strategy shifts. To brighten these areas, choose a concealer that is one or two shades lighter than your natural skin tone. Dab it gently around the darker spots, and you’ll see how effectively it lightens them, making them virtually disappear. For professional-grade coverage, brands like NARS offer highly pigmented concealers that blend beautifully.
4. Masking Cosmetic
If standard concealers aren't doing the job, you might need a masking cosmetic. These products are thicker than traditional concealers and contain significantly more pigment. They are excellent for hiding small scars or more prominent blemishes that require extra staying power. It's a professional-grade solution for those days when you need maximum coverage.
"Enhancing your beauty doesn't always mean going for the glossy look. More ladies now see the allure of a shine-free finish. With the right tools and techniques, you can also achieve a flawless, subtle glow. Learn how to master this trend by following these incredible matte makeup tutorials. Enhance your natural complexion without the unnecessary flash."
5. Concealer Brush
While fingers are convenient, using a dedicated concealer brush can make a world of difference. A brush allows for more precision, especially when you're trying to target a specific spot without disturbing the surrounding makeup. It helps in stippling the product onto the blemish for a more concentrated and effective cover-up.
6. Set with Powder
One of the most overlooked steps in blemish coverage is setting the area. Once you've applied your concealer, lightly dust a translucent setting powder over it. This locks the product in place, ensuring it doesn't slide off or settle into fine lines throughout the day. A high-quality option like Laura Mercier Translucent Loose Setting Powder is a favorite among makeup artists for its weightless finish.
7. Clean Tools
Hygiene is just as important as technique. Always make sure your brushes and sponges are clean before they touch your face. Using dirty tools can introduce bacteria to active blemishes, potentially making the breakout worse. Regular cleaning keeps your skin healthy and your makeup application smooth.
8. Less is More
It can be tempting to pile on product, but heavy layers can actually draw more attention to a blemish. Start with a thin layer and build up only where necessary. Blending the edges is key to making the concealer look like part of your skin rather than a patch on top of it.
9. Prep Your Skin
Makeup always looks better on a well-prepped canvas. Before applying any concealer, ensure your skin is hydrated. If a blemish is dry or flaky, the makeup will cling to it and highlight the texture. Use a lightweight moisturizer or a smoothing primer to create a balanced surface for your makeup.
Blemish Coverage Quick Guide
| Issue | Solution | Pro Tip |
|---|---|---|
| Redness | Yellow Concealer | Neutralizes red tones |
| Dark Spots | Lighter Concealer | Brightens the area |
| Texture | Primer & Setting Powder | Smooths and locks in place |
By mastering these techniques, you can handle any skin emergency with ease and confidence. Remember that consistency and the right tools are your best allies in achieving a flawless look every day.
- Match your concealer to your skin tone
- Use a brush for precision
- Set with translucent powder
- Keep your tools clean
Thanks for sharing your thoughts.
Want more like this? Subscribe for personalized picks.
Successfully subscribed.
Check your inbox for personalized content.
Add allwomenstalk.com as a preferred source on Google to see more of our trusted coverage when you search.

Don't Miss the Latest Version
Get the latest stories, save favorites, and share with friends — all in one place.
New Earn badges & level up while you read
Create your profile. Earn badges. Level up your reading.
Join Allwomenstalk to track your streaks, collect badges, and earn XP for the things you already do—reading, sharing, and taking quizzes.
- 🔥Daily streaks with gentle boosts for 3, 7, and 30 days.
- 🏅Collect badges like Reader I–III, Socialite, and Quiz Ace.
- ⚡️Earn XP for reads, deep reads, likes, comments, and shares.
It’s free. Takes 30 seconds. Already have an account? Sign in.


Feedback Junction
Where Thoughts and Opinions Converge
2012-09-23T21:52:20.000Z
2013-02-25T00:24:53.000Z
2013-11-14T13:13:54.000Z
2012-10-29T12:14:09.000Z